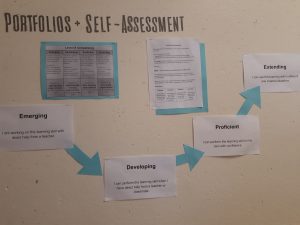
A Question on My Mind
I’ve spent a lot of time in the field of professional and academic science, and one thing is clear: in order to go on in science, engineering, or technical fields, you need to learn how to code. At the post-secondary level, there are few classes offered on coding for non-computer science majors. I’ve had to learn to use R and MATLAB on the fly, or learn to use them as part of a course on statistics or signal processing, respectively. The most successful and in-demand of my former colleagues are the ones who came from a computer science background, and can code in multiple languages. Being able to see a problem and solve it by coding an application is the best way to get a job in the research field – or, honestly, probably any field.
So something I’ve been wondering is: as a high school science teacher, when is it appropriate to start teaching my students to code?
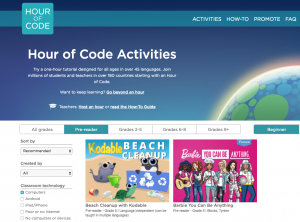
Screen capture from Hour of Code, showing coding games available for ‘pre-reader’ age children.
The answer, it seems, is ‘from before they can read’.
And Here’s How
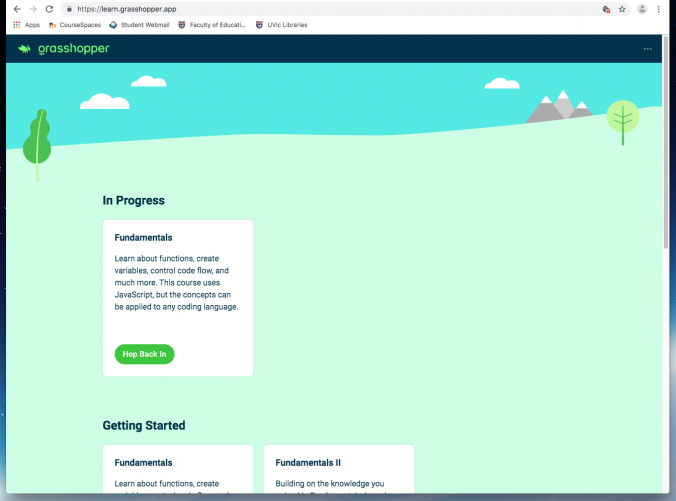
Today in class, Rich McCue came in to give us an introduction to learning activities that teach students to code. There are a number of great resources out there, including Scratch (for beginners or younger kids as it’s mostly picture-based and requires little typing and no spelling), and Grasshopper. Grasshopper is a Google-based platform (see my post on Google for Education for my thoughts on Google’s brave new world), but don’t hold that against it. It is an incredibly intuitive app that guides and scaffolds the player through games that start out very easy, building self-efficacy, and build quickly toward real coding tasks.
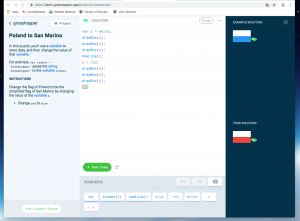
Example of a game screen in Grasshopper. Screen capture.
In the game, your instructions are on the left, with the command screen in the middle. there are buttons ta the bottom as ‘building blocks’ of syntax, in case the student doesn’t feel comfortable typing right away. there is an example on the top right of what your code should create, and the bottom right shows what you have so far.
Remember how I said I’m not one to get into computer games? Well, having spent about half an hour with Grasshopper, I’m addicted. I’ve downloaded the app and can’t wait to play it on the bus tonight.
Screen capture from Hour of Code, showing coding games available for ‘pre-reader’ age children.
For hour-long lessons in coding, Hour of Code has compiled hundreds of games or sections of games that incorporate code and take about an hour to complete. On Hour of Code, you can search by subject area, level of experience, platform (iOS, Android, computer), and age level, and find fun activities to help get students engaged with coding.
As the CodeBC teachers’ guide to Computational Thinking states, computational thinking is the new literacy if the 21st century. I think of coding as a tedious, frustrating chore that I will never learn to do properly and that I do as little as possible. I believe it’s essential for high school students today to think of code as the opposite: a fun, engaging, and accessible activity that is as necessary for life as reading, writing, and arithmetic. Games like Grasshopper and the lessons on Hour of Code are great ways to get students started coding in a way that makes them want to code, and feel like they are good at it.


Recent Comments